Course Overview
The Program
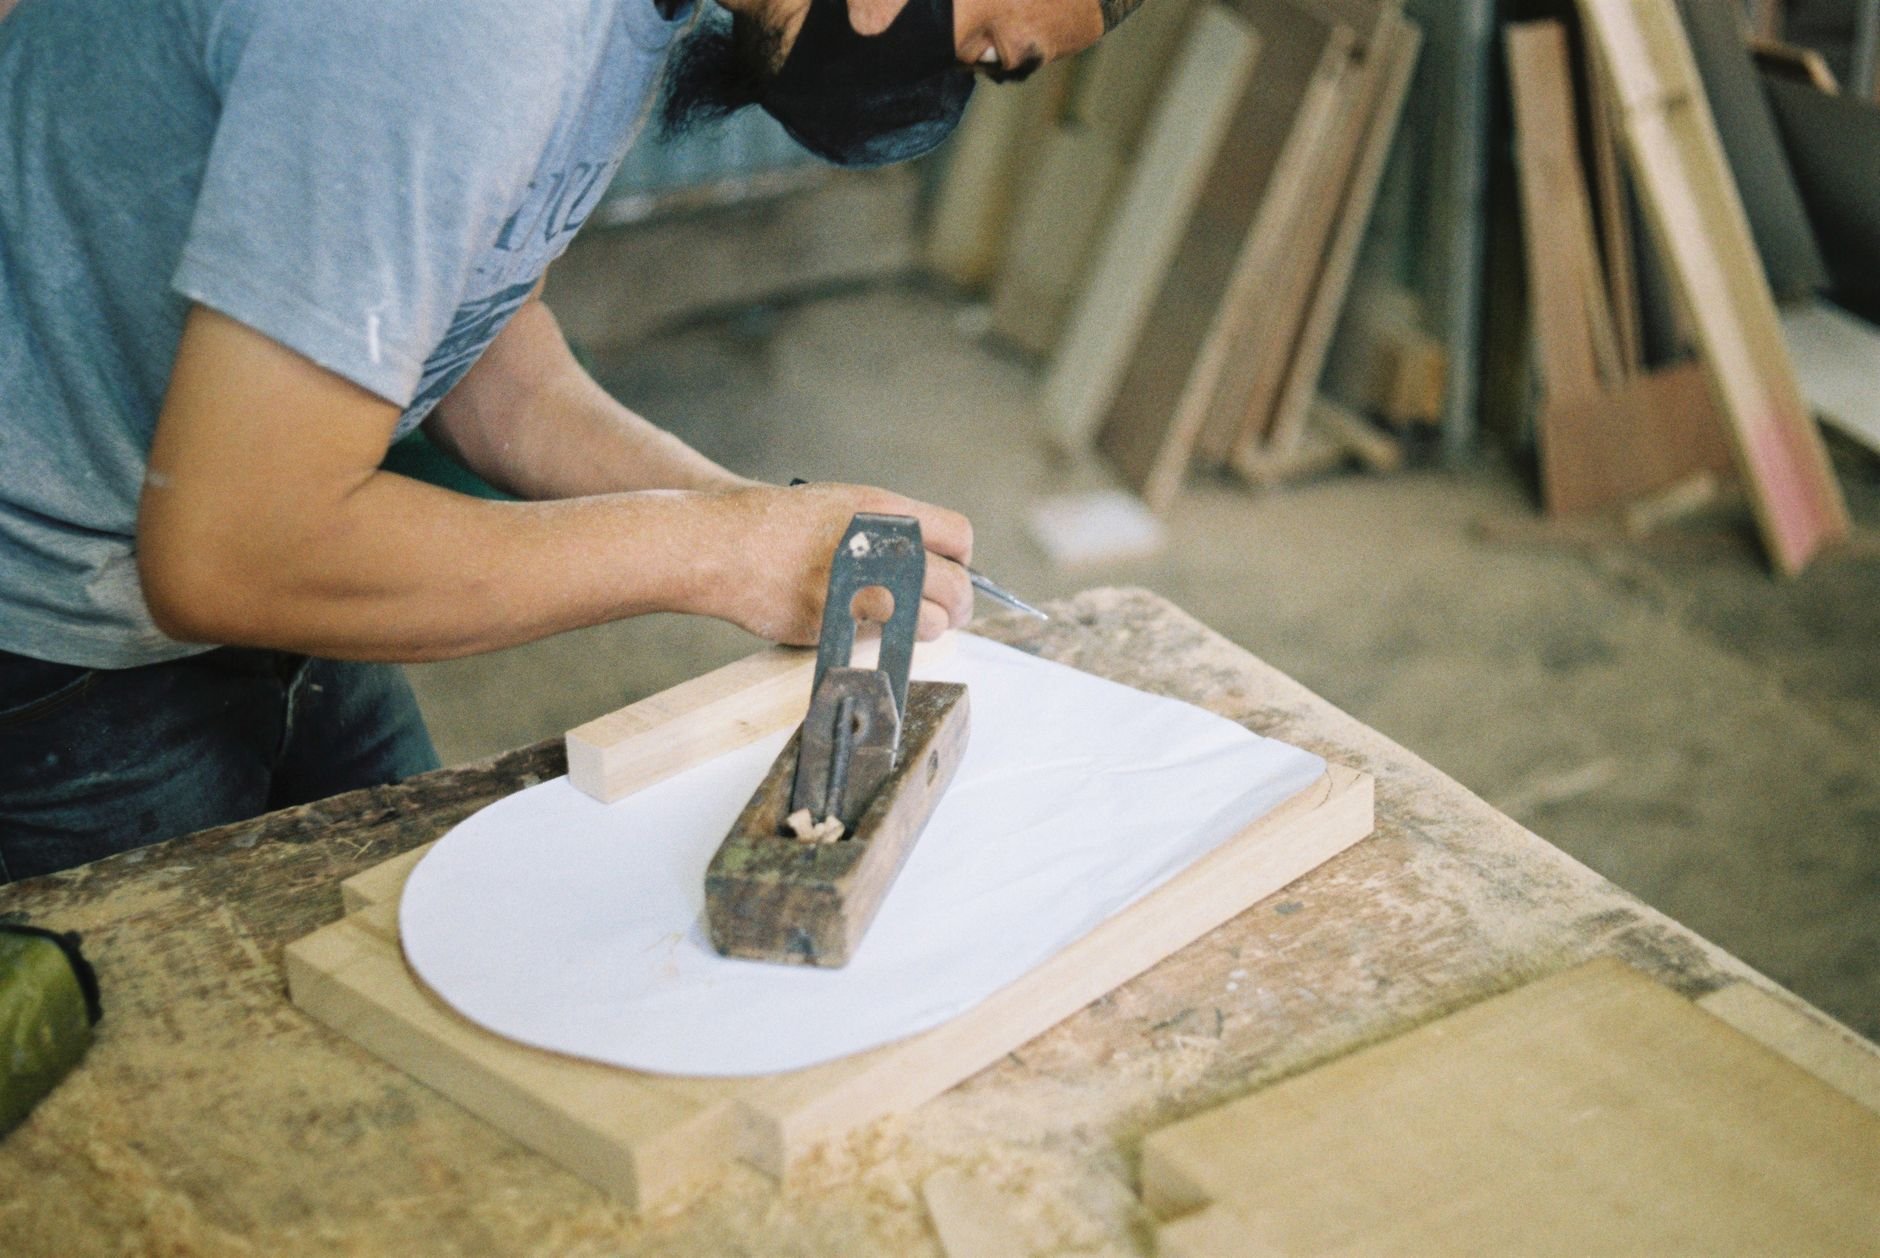
Program Overview
A Complete Construction Education in a Single Course
The Certified Tiny Home Build Course is structured around a single, focused outcome: by the end of the program, a group of students has built a complete, road-legal tiny home on wheels from the ground up.
The course covers every phase of residential construction — site prep, structural framing, roofing, window and door installation, electrical rough-in, plumbing rough-in, insulation, and interior finish carpentry. Students rotate through each phase rather than specializing in one area, so every participant gains a broad foundation.
The program is designed to be delivered at your facility. Materials, curriculum guides, and expert support arrive with the course — your school or organization provides the students, the space, and the instructors.
Curriculum
Six Phases, One Complete Build
The curriculum follows the natural sequence of residential construction — students experience the full arc of a build, from trailer prep to certificate of completion.
Phase 1
Foundation & Trailer Prep
- Understanding tiny home trailer specifications and load ratings
- Subfloor framing and attachment to trailer chassis
- Moisture management and vapor barrier installation
- Subfloor sheathing and leveling
Phase 2
Structural Framing
- Wall framing layout and plate marking
- Stud cutting, header construction, and rough opening framing
- Wall assembly and raising sequences
- Roof framing: rafter layout, ridge board, and collar ties
Phase 3
Building Envelope
- Structural sheathing and bracing
- Housewrap installation and window/door flashing
- Exterior siding installation and trim detail
- Roofing: underlayment, metal or shingle application
Phase 4
Mechanical Rough-In
- Electrical panel sizing and circuit planning
- Wiring runs, box placement, and rough-in inspection prep
- Plumbing supply and drain lines
- Propane or solar-ready rough-in (configuration-dependent)
Phase 5
Insulation & Interior
- Insulation selection: spray foam, rigid, or batt (structure-dependent)
- Vapor barrier and air sealing
- Wall and ceiling finish: shiplap, drywall, or panel
- Interior trim, cabinetry rough-in, and finish carpentry
Phase 6
Completion & Certification
- Systems walkthrough and punch-list inspection
- Documentation of student work and build record
- Student certification ceremony and portfolio review
- Final inspection readiness and road-legal checklist
The Finished Build
A Real Home. Road-Legal. Built by Your Students.
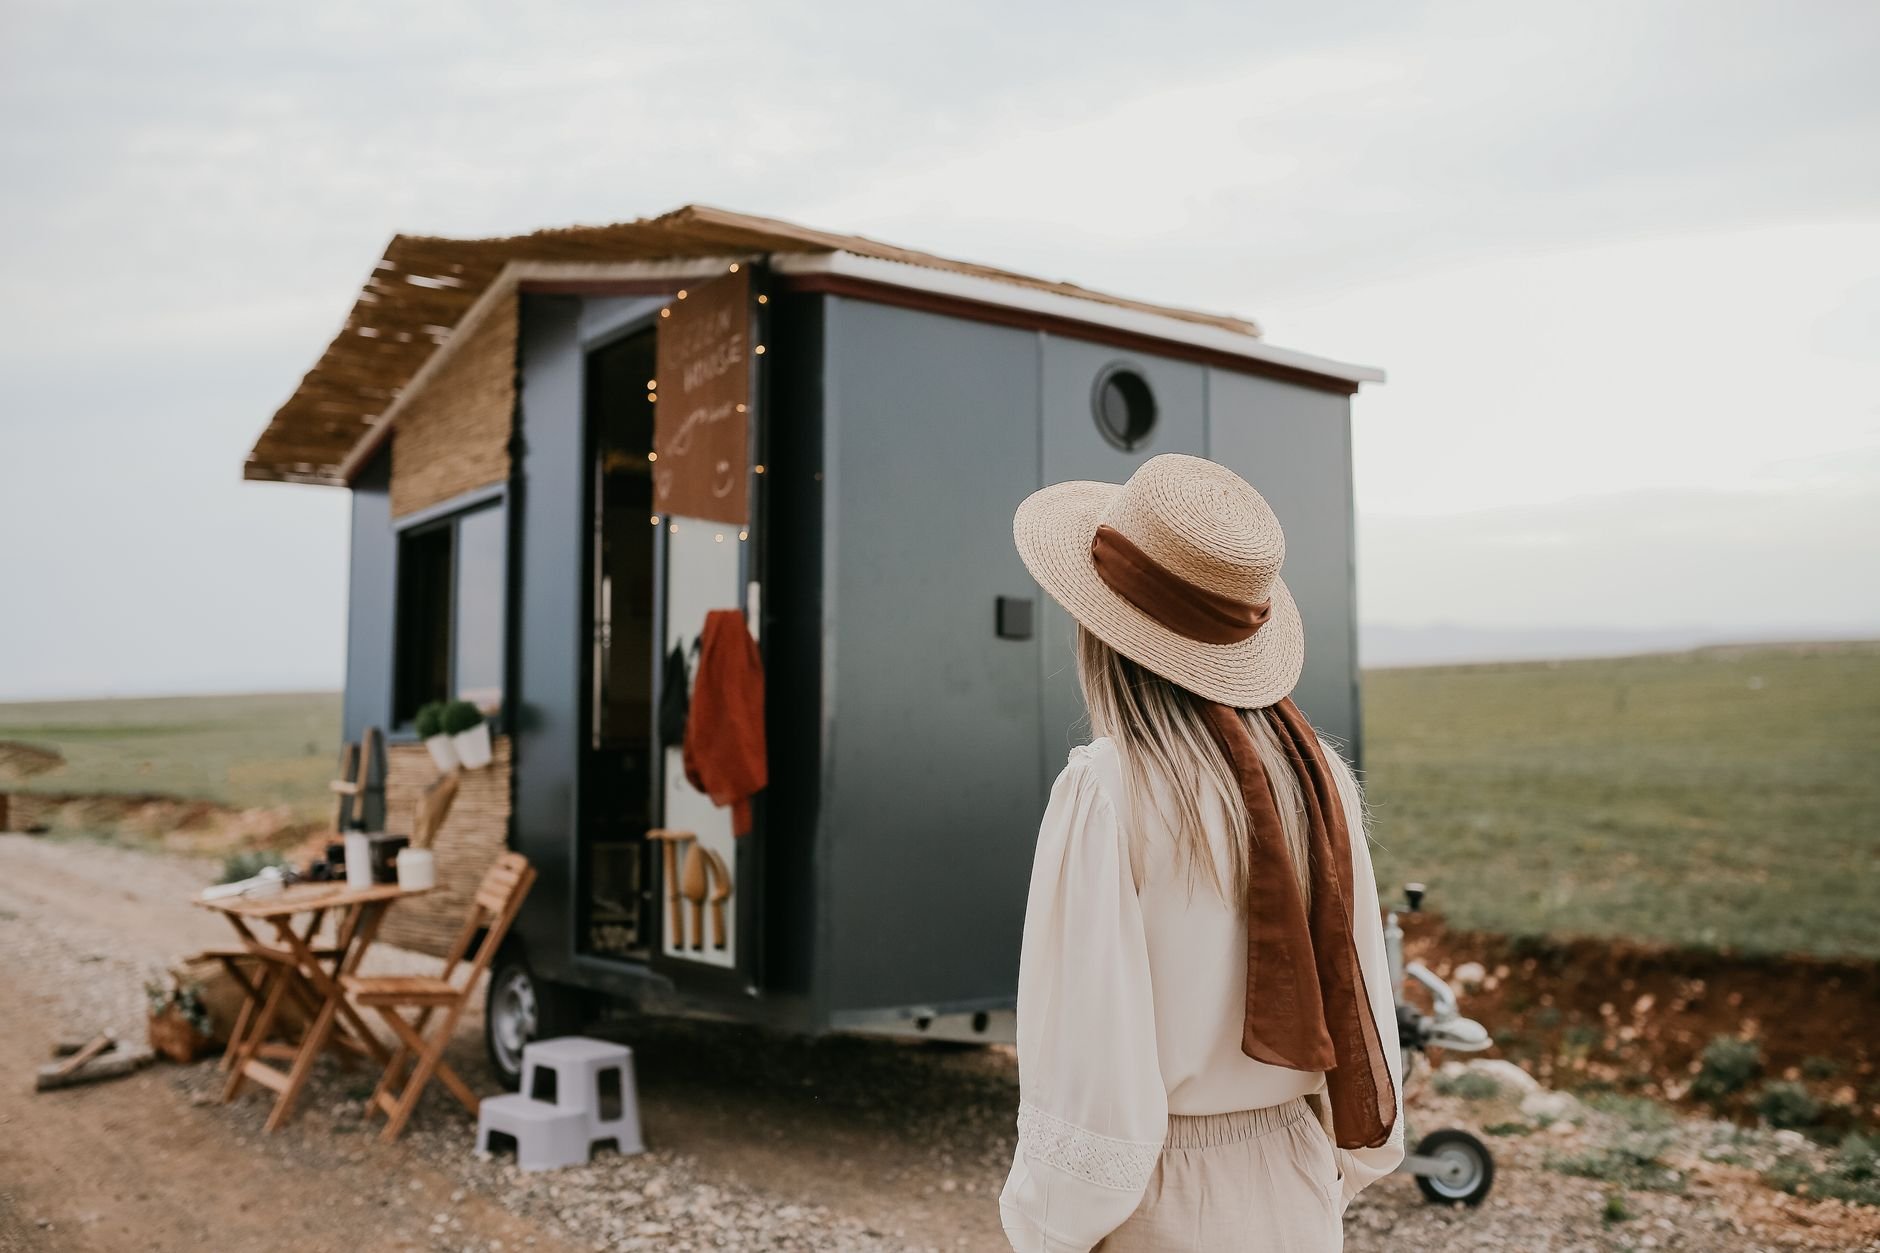
The finished structure is not a practice mock-up or a partial build. It is a complete tiny home on a trailer chassis, built to residential construction standards and ready for road transport and occupancy.
The home stays with your school or organization after the course completes. It becomes a permanent demonstration of what your program can produce — a recruiting and showcase asset for years to come.
Schools have used completed homes to house staff, operate as a campus demonstration unit, or sell the structure to fund the next build. The decision about the home's use after completion is yours entirely.
Ready to Run This Course at Your School?
We'll walk you through what the course looks like at your facility — space requirements, scheduling, and what your students will take away.